Table of Contents
Staring at a bag of fruit snacks, I longed for something crunchier and healthier. That’s when I found golden kiwis. My kitchen turned into a snack paradise. These fruits turn into crispy chips in the oven, no need for fancy tools.
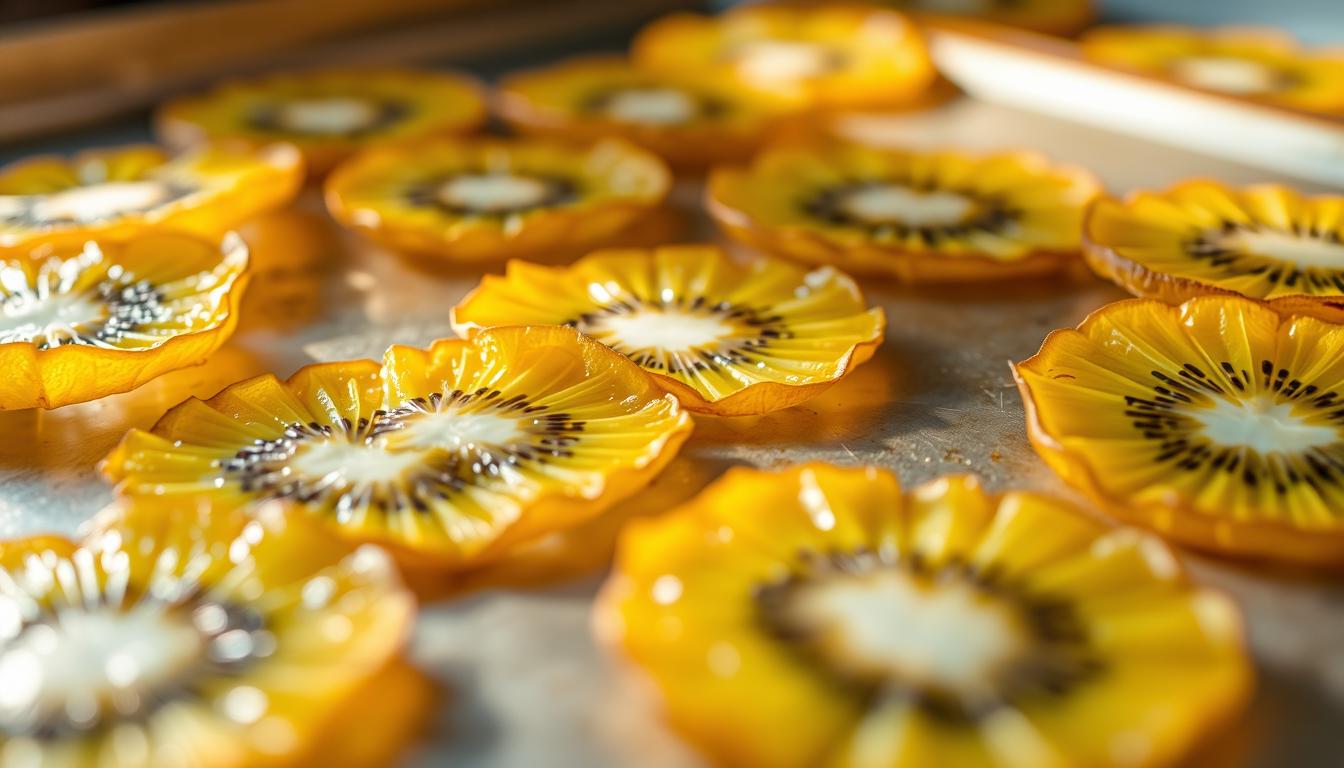
Imagine a chip that’s sweet, tangy, and full of vitamin C. That’s what golden kiwi slices in the oven offer. My first batch was gone in minutes. Now, I’m excited to share my easy method with you. Say goodbye to additives and hello to homemade, crispy golden kiwi chips.
Key Takeaways
- Golden kiwi chips use only fruit and a simple oven process.
- They’re a healthier swap for store-bought snacks loaded with sugar.
- Customize sweetness with optional toppings like cinnamon or dark chocolate.
- No special equipment—just a baking sheet and a sharp knife.
- Perfect for snacking, gifts, or topping yogurt bowls.
Why Golden Kiwi Chips Are My New Favorite Healthy Snack
Golden kiwi chips are more than just a snack—they’re a game-changer. They offer a burst of flavor and nutrition without the guilt. Here’s why they’re a must-try.
The Nutritional Benefits of Golden Kiwi
Golden kiwis are packed with nutrients. Here’s what makes them special:
- Vitamin C overload: More than twice the C of oranges, boosting immunity.
- Plant-powered fiber: Aids digestion and keeps hunger at bay.
- Antioxidant boost: Protects cells from damage with natural compounds.
How These Chips Compare to Store-Bought Snacks
Commercial snacks often have too much salt, sugar, and preservatives. My homemade version is better in three ways:
- No added junk: Just fruit, no artificial flavors or colors.
- Less sugar: Naturally sweet with zero added syrup or cane sugar.
- Fresher taste: Baking locks in the kiwi’s tangy-sweet flavor, unlike stale store options.
My Journey to Perfect Kiwi Chips
My early attempts were a bit of a mess. Too thick? They stayed chewy. Too thin? Burned edges. After 10+ batches, I got it right. Pro tip: Slice ⅛-inch thick and flip halfway. Now my crunchy kiwi snacks are consistently golden-brown and crispy every time.
Equipment You’ll Need for Perfect Oven-Baked Kiwi Chips
Having the right tools is key to making oven-baked kiwi chips perfectly crisp. Let’s look at what you need:
- Baking sheet: Choose a sturdy sheet that spreads heat well. Dark-colored metal is best, but non-stick works too.
- Parchment paper or silicone mat: They prevent sticking and make cleaning easy. I prefer parchment for its cost and flexibility.
- Mandoline slicer or sharp knife: A mandoline gives even slices. But a sharp knife will do if you’re careful. Even slices are crucial for crispiness.
- Cooling rack: Cool chips on a wire rack to keep them crisp. Avoid letting them soften on a counter.
- Airtight containers: Store your chips in glass jars or BPA-free containers. This keeps them fresh.
A food dehydrator is optional but useful for big batches. If you don’t have one, your oven will do. For saving money, skip the mandoline and slice by hand. It’s slower but works. Focus on quality tools like a good knife to avoid frustration. With these basics, you’ll make delicious homemade oven-baked kiwi chips easily and affordably.
Selecting the Perfect Golden Kiwis for Chip-Making
Choosing the right golden kiwis is the first step in any golden kiwi chip tutorial. The right fruit ensures crisp texture and vibrant flavor in every chip. Let’s break down how to pick the best ones.
Ripeness Guide for Golden Kiwis
Look for kiwis that are somewhat firm but not rock hard. Here’s how to test:
- Touch Test: Press gently—the skin should yield slightly, like a ripe avocado.
- Visual Check: Avoid kiwis with dark patches. Perfect specimens show golden skin with no green undertones.
Organic vs. Conventional: What I Recommend
- Organic options reduce pesticide exposure but cost 15-20% more.
- Conventional varieties are budget-friendly but may require peeling for crispier chips.
I use organic when available for minimal prep, but conventional works fine too.
Where to Find Golden Kiwis Year-Round
| Season | Best Sources |
|---|---|
| Fall/Winter | Local farmers’ markets or Whole Foods stores |
| Spring/Summer | Regular grocery stores (e.g., Safeway, Trader Joe’s) |
| Year-Round | Online retailers like Thrive Market or Melissa’s Produce |
If unavailable locally, order online for consistent results in your golden kiwi chip tutorial.
The Best Crispy Golden Kiwi Chips Recipe Oven Method

Let’s explore my favorite way to make easy homemade kiwi chips that are crispy and golden. These steps ensure a perfect batch every time, with no surprises.
Ingredients List
- 3-5 ripe golden kiwis (see ripeness guide in section 4)
- Parchment paper (non-stick baking mat optional)
- Optional: ½ tsp cinnamon or vanilla extract
- Optional sweetener: 1 tbsp honey or maple syrup
Preparation Steps
- Wash kiwis thoroughly and pat dry with a clean towel.
- Slice kiwis paper-thin using a sharp knife or mandoline slicer.
- Lay slices in a single layer on parchment-lined baking sheets—no overlapping!
- Optional: Brush lightly with honey or sprinkle spices before baking.
Exact Oven Settings
| Setting | Details |
|---|---|
| Temperature | 200–225°F (93–107°C) for 2–4 hours |
| Position | Middle rack with convection off |
| Check Time | Test after 1.5 hours—edges should curl slightly. |
Pro tip: Rotate trays halfway through baking for even drying. Adjust time based on slice thickness—thicker chips need longer. Enjoy your best crispy golden kiwi chips recipe oven as a guilt-free snack or dessert topper!
Slicing Techniques for Consistently Crispy Kiwi Chips
To make golden kiwi slices crispy in the oven, slicing right is crucial. I found out that even a tiny difference in thickness can mess up crispiness. Try to slice them to about 3mm, which is as thick as a nickel.
Here’s my tool breakdown:
- Mandoline slicer: Best for precision. Use the guard and always hold the food pusher. I’ve burned myself twice ignoring safety gear.
- Sharp chef’s knife: Rock the blade slowly, rotating the fruit. Practice on an apple first.
- Food processor attachment: Only use the thinnest slicing disc. Clean-up is a hassle but worth it for big batches.
Pro tip: Freeze kiwis 20 minutes before slicing. The firmness makes slippery skin easier to handle. For peel-on chips, scrub skins thoroughly. Leave the peel for extra fiber; remove it if you prefer milder flavor.
My favorite method combines freezing with a mandoline. After slicing, arrange chips in a single layer on parchment—overlapping slows crisping. Always pat slices dry with a paper towel before baking.
Practice with one kiwi at a time. Thickness inconsistency is the #1 reason chips turn soggy. Use a ruler or compare slices to a nickel for size checks. Your oven’s airflow matters too—don’t overcrowd racks.
My Secret Seasoning Blends for Flavor-Packed Kiwi Chips

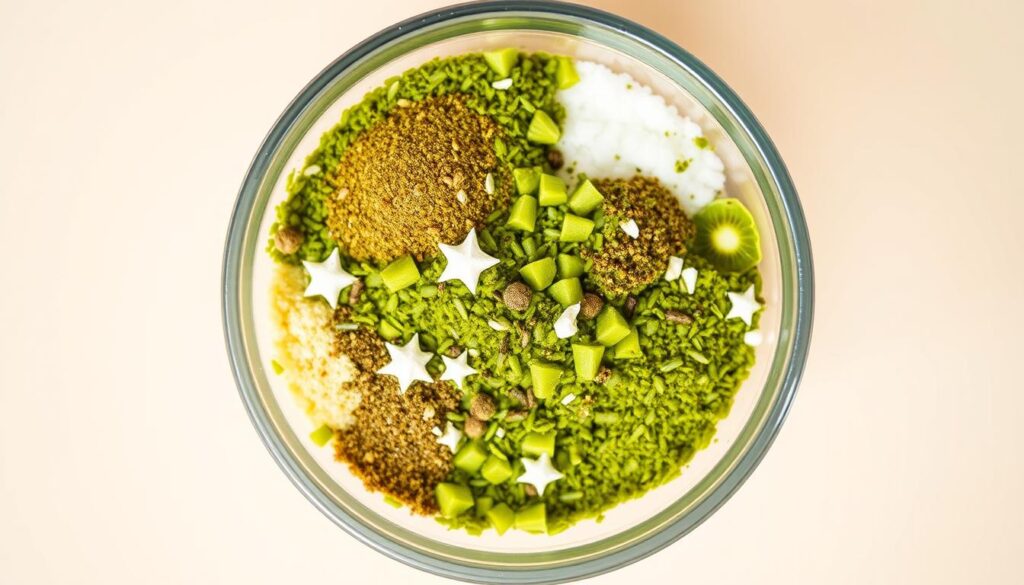
Customizing your kiwi chips with the right kiwi chip seasoning makes them irresistible. My favorite blends bring out the golden kiwi’s sweetness and add new flavors. Try these easy mixes to make each batch special.
Sweet Seasoning Options
For a dessert-like crunch:
- Cinnamon-Vanilla: Sprinkle ½ tsp cinnamon and a pinch of vanilla extract before baking.
- Coconut Sugar & Cardamom: Combine 1 tbsp coconut sugar and ¼ tsp ground cardamom on warm chips post-baking.
- Maple & Flaky Salt: Drizzle cooled chips with maple syrup, then top with Maldon sea salt for a gourmet touch.
Savory Seasoning Combinations
Add savory depth with these crowd-pleasers:
- Chili-Lime: Toss slices with red pepper flakes and lime juice before roasting for a tangy kick.
- Rosemary & Sea Salt: Sprinkle fresh rosemary needles and flaky salt mid-baking for herbaceous aroma.
- Smoked Paprika Blend: Mix 1 tsp smoked paprika with olive oil before slicing for rich, savory notes.
Exotic Flavor Profiles
Take inspiration from global flavors:
- Chai Spice: Rub cinnamon, ginger, and black pepper into slices before baking for an autumn-inspired twist.
- Matcha Dust: Lightly coat cooled chips with matcha powder for a green tea-infused treat.
- Za’atar Mix: Combine sumac, thyme, and sesame seeds on warm chips for Middle Eastern flair.
Always test small batches first! Let seasonings adhere by brushing chips lightly with oil before adding dry blends. Store unused kiwi chip seasoning mixes in airtight jars for future experiments.
Troubleshooting Common Issues With Homemade Kiwi Chips
Even with the best crispy golden kiwi chips recipe oven, hiccups happen. Let’s tackle the most frequent problems so you can master those crunchy kiwi snacks every time.
Why Your Chips Aren’t Crisping Properly
Thin, even slices are key. If your chips stay chewy, check three fixes:
- Slice kiwis at ⅛-inch thickness—use a mandoline for consistency.
- Spread them single-layered on parchment-lined sheets. Overcrowding traps steam.
- Preheat your oven to 175°F (80°C). A cold oven traps moisture.
Fixing Burnt Edges Without Undercooked Centers
Golden edges but soggy middles? Try these steps:
- Rotate the baking sheet halfway through bake time.
- Lower heat to 160°F (70°C) after 15 minutes.
- Cover overbrowned edges with foil in final 10 minutes.
Humidity Concerns and Solutions
High humidity can soften chips post-bake. My fixes:
- Store in airtight containers with silica gel packets.
- Re-crispen in the oven at 200°F (95°C) for 5–7 minutes.
- Check weather forecasts—bake on dry days if possible.
For more crispiness hacks, explore hotcake mix techniques for inspiration on even cooking. Remember, practice makes perfect—adjust slowly and taste often!
Creative Ways to Serve Your Golden Kiwi Chips
Golden kiwi chips are more than just a snack! I’ve found many ways to make them a hit. Their tangy-sweet crunch brings flavor to places you least expect.
- Snack boards: Arrange chips alongside sharp cheeses, dark chocolate, and marinated olives for a colorful spread.
- Ice cream toppers: Crush a few chips into a sprinkle for scoops of vanilla or matcha gelato.
- Cocktail garnishes: Skewer a chip onto a drink stirrer for margaritas or sparkling water.
- Gift packaging: Layer them in mason jars with handwritten flavor labels for hostess gifts.
- Trail mix upgrades: Combine with dark chocolate nibs and dried cranberries for hikes or movie nights.
I also add them to yogurt bowls for a morning crunch or crush them into oatmeal. At parties, I mix savory-sweet and sweet flavors. This way, everyone finds something they like. These crunchy kiwi snacks are a favorite in my kitchen. No two servings are ever the same!
How to Store Your Crunchy Kiwi Snacks for Maximum Freshness
Keeping your homemade kiwi chips fresh is easy. Just follow a few simple steps. This way, they stay crisp and tasty for weeks. Here’s what I’ve found works best.
Short-Term Storage Solutions
For snacking within a week, I use:
- Airtight glass jars with tight lids to block air and moisture.
- Re-sealable plastic containers stored in a pantry or cupboard.
- Avoiding humid areas like the fridge—cold temps can make them soggy.
Long-Term Preservation Methods
For batches you want to keep longer, try:
- Vacuum-sealed bags with oxygen absorbers (FoodSaver works great!).
- Freezing in labeled freezer bags for up to 3 months—thaw at room temp before eating.
- Adding silica gel packets to containers to soak up extra moisture.
Reviving Stale Kiwi Chips
If they lose their crunch, here’s how I bring them back:
- Oven method: Bake at 200°F for 5-7 minutes on a parchment-lined tray.
- Toaster oven: Warm at 275°F for 3-4 minutes for a quick fix.
- Microwave: 10-second bursts on high—watch closely to avoid overcooking.
These tips help me enjoy my homemade kiwi chips at their best. Adjust based on how soon you’ll snack on them!
Exciting Variations to Try With Different Kiwi Varieties
I’ve fallen in love with the healthy kiwi chip recipe using golden kiwis. But there’s more to explore. Let’s see how other varieties change this snack!
- Green Kiwi: These are tart and tangy. They need 5-10 extra minutes in the oven. Also, reduce sweetener by 25% to balance the flavor.
- Red Kiwi: They’re naturally sweeter with a softer texture. Slice them thinner and bake at 175°F for 4 hours to get them crispy.
- Kiwiberries: You don’t need to peel them! Bake whole or halved kiwiberries at 160°F for 3 hours. They make perfect bite-sized chips.
Mix different varieties for a colorful platter. Red and green slices together add a pop of color. Kiwiberries surprise everyone with their sweet crunch. Check your local farmers’ market for seasonal kiwis. Red kiwis are best in winter, while green ones are available all year.
Red kiwis have more vitamin C, and green ones offer extra fiber. Experiment with flavors! Sprinkle cinnamon on golden kiwis or chili flakes on green ones. These changes make the healthy kiwi chip recipe exciting every time. Your oven and taste buds will love it.
Conclusion: Enjoy Your Homemade Crispy Golden Kiwi Chips
Now you’ve learned how to make golden kiwi chips. They’re not just a snack; they’re a healthier choice and a fun kitchen project. My family loves them with cinnamon or dark chocolate. Friends always ask for the recipe after trying them.
Getting good at slicing and drying is key. Make sure to adjust your oven settings to avoid soggy edges. Don’t be afraid to add seasonings like chili flakes or sea salt. These chips keep well, so making a big batch is a good idea for busy times.
Post your golden kiwi chip creations on social media with #OvenBakedKiwiMagic. Share ideas with other bakers about lime twists or nut butter dips. Every batch you make improves your skills, making your kitchen a place of fresh, healthy treats.
Keep your dehydrator or oven ready for more experiments. Whether you’re snacking alone or hosting a party, these chips are a hit. Happy baking—and enjoy your crunchy treats!

